Latest Posts

checking-in & thanksgiving plans

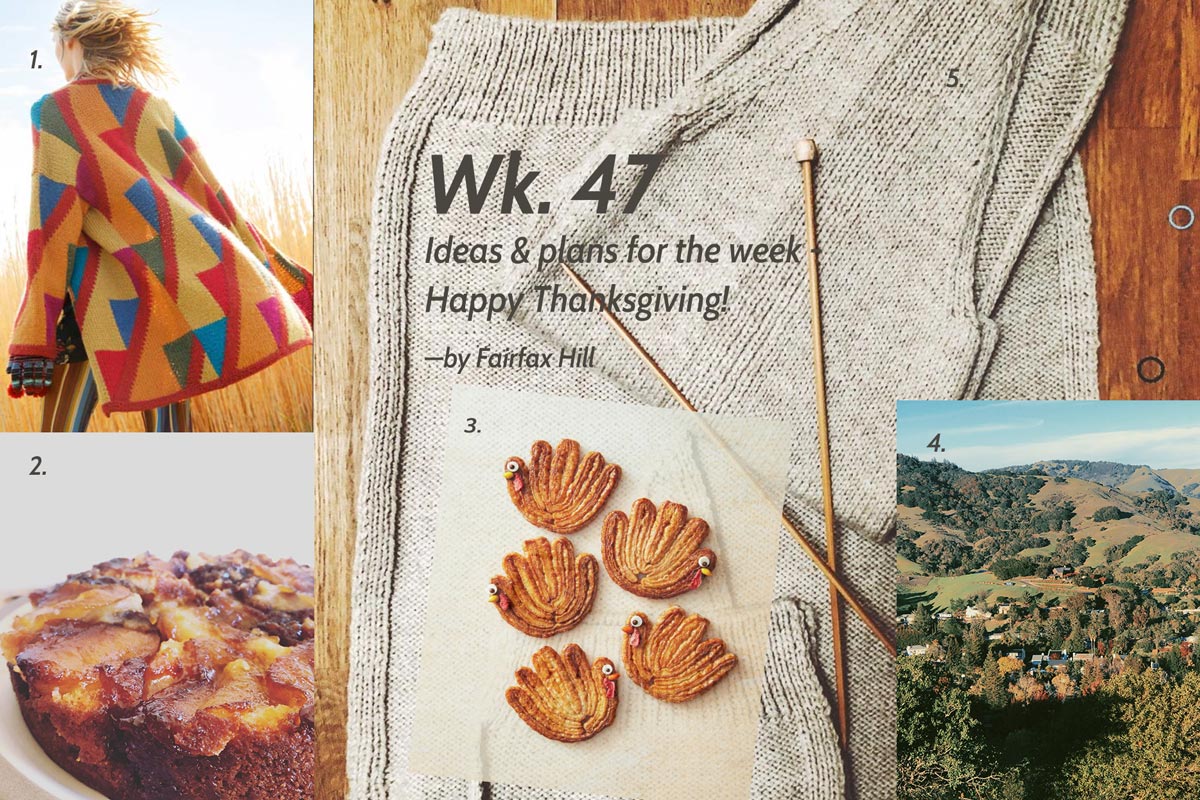
Hello! It is a beautiful day in Marin today and I am dying to drive out to the beach. I’m not sure where I’ll go, but the sand and the ocean are calling my name. Stinson? Limantour? I’ll probably bring my knitting project and grab a coffee at the little shack if it’s open. Nobody likes the beach as much as I do, here at our house, so I guess I’ll go by myself.

I wanted to quickly sneak in an update before we get too busy with Thanksgiving preparations. This year we get to celebrate with Patrick’s family like we used to in the days before Covid. It should be fun!

As has become our tradition, Patrick will bring some extra dressing to the party and I’ve been asked to bring something else, so I think I might make this apple cake which turned out quite yummy when I tried it last week — even if some of the apples stuck to the pan. Maybe it won’t stick this time? I also want to be more careful about how I arrange the apple slices; I think that I can make it look prettier. But, honestly, you can’t ask too much of something that’s cooked upside down!

AND, if I get inspired, I would love to make these cute turkey cookies. Aren’t they adorable? I loved this idea, so I’m saving it here in case I don’t get to it this time.

In my studio, I am finally working on the hoodie of the sweater I’ve been knitting since the beginning of the year. I didn’t realize hoodies were so big! 100 stitches on my needles and 4 inches to go. It’s taking a bit, but I’m slowly getting closer to the finish line.

I am also patiently awaiting the new Rebecca magazine I ordered online. I hope it shows up soon. I normally buy the version that is distributed in the U.S., which comes with an insert that has all the instructions translated into English. I couldn’t find the latest issue, so I decided to make myself practice my incredibly rusty German. (I took German for over three years, but I can’t remember very much.) Time to pick it up again!

I got carried away looking at all the patterns online. This intarsia sweater is in issue 67 and even if I don’t think I’d ever knit a huge cardigan like this one, I loved the happy colors. If you are curious of what other patterns are included in the latest issue, you can view them here.

Finally, I leave you with this photo I took yesterday on my afternoon walk. After realizing jogging (my crazy obsession with jogging 5K) is just getting in the way of exercising regularly, with achy shins that put me out of commission every few days, I’ve decided to tweak my goal and start with a neighborhood hike up the hill every day instead. This doesn’t mean I will not try to jog again, but just for now, I will focus (keyword: focus) on a more realistic goal that will move me towards the bigger goal of getting in shape. (More on this stuff on a later post.)

Until then, enjoy your Wednesday. I will be enjoying the beginning of my weekend, hopefully, at the beach! Auf Wiedersehen!
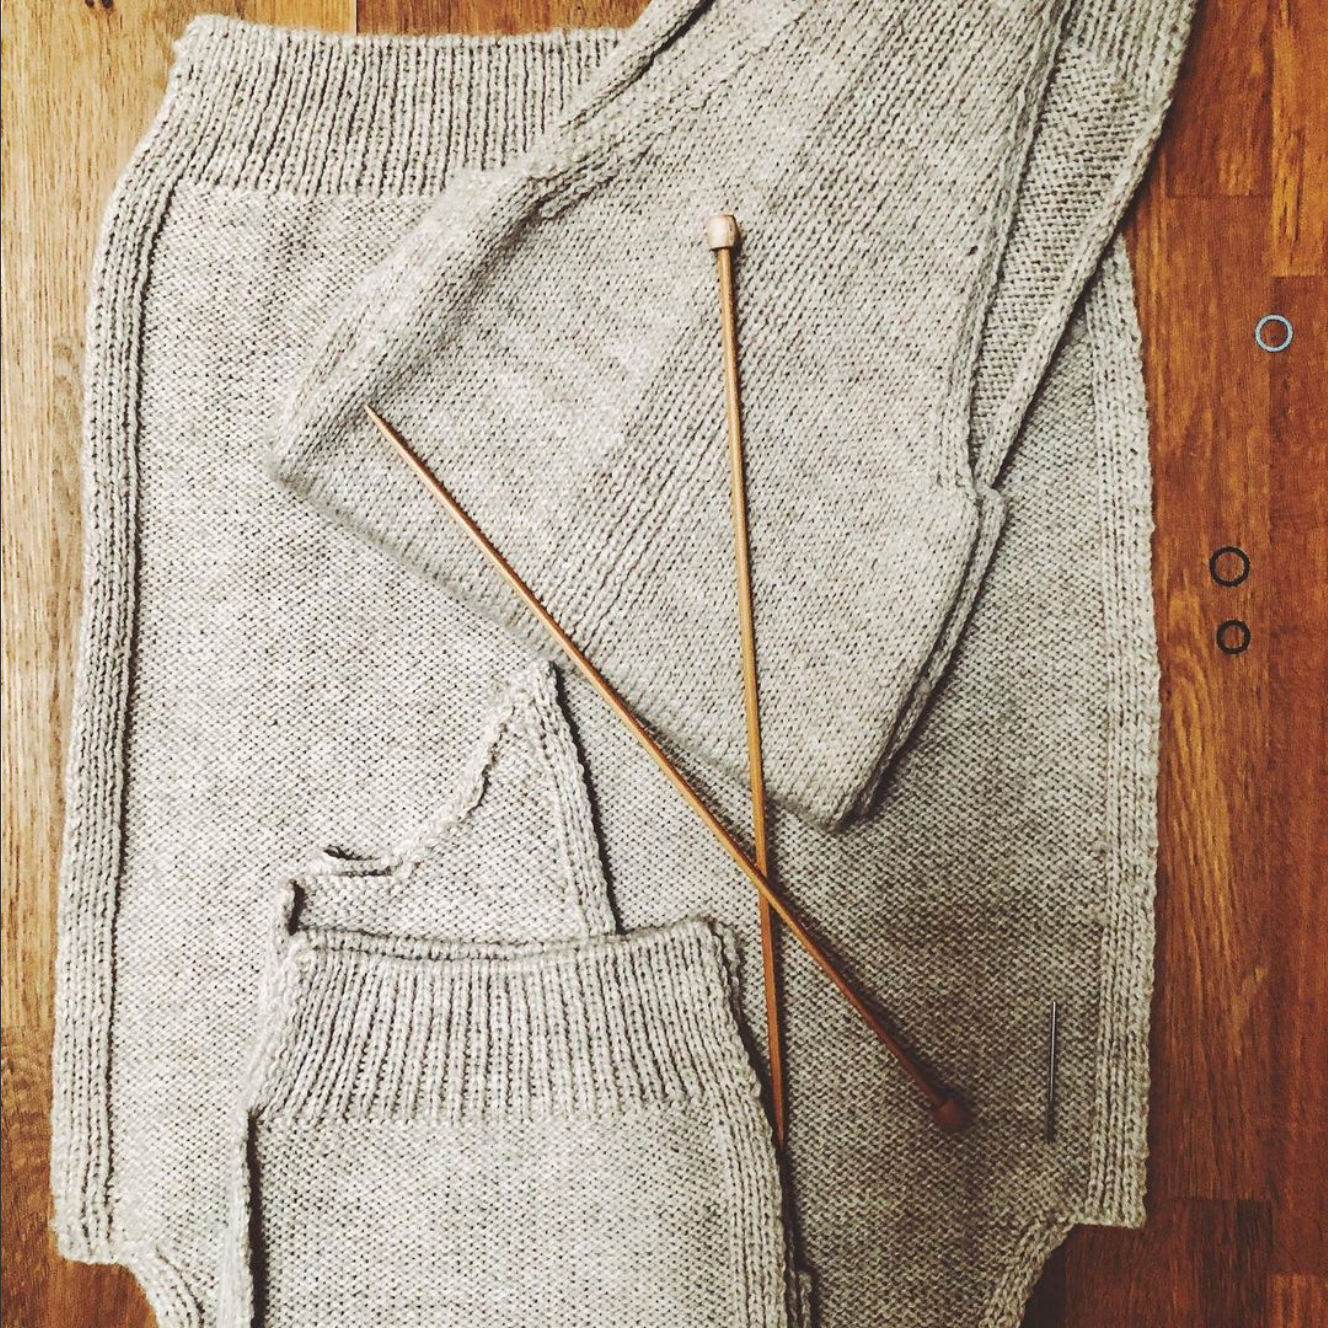
handknit sweater pieces ready for sewing

adding zippers to hand-knit sweaters

Did you know you can order zippers to match your yarn? If you follow my Instagram, you know I’ve been working on the Jump Shot Hoodie pattern by Amy Herzog, at Sarah’s request. Now that I’ve completed the back and the two fronts, I started thinking about how to attach the zipper and where to find a nice one. This will be my first time ever applying a zipper to a knitted sweater and luckily Amy has a great zipper tutorial.

handknit sweater pieces ready for sewing
jumpshot hoodie

While browsing the Vogue Knitting app I have on my phone, I stumbled upon another good resource for installing zippers, this one written by Deborah Newton, whose book Finishing School: A Master Class for Knitters I bought not too long ago. In the article she recommends zipperstop.com. One great thing about this store is that if you aren’t sure which zipper to buy (there are many styles and colors to choose from), you can arrange to mail them a sample of your yarn and they will help you find the right match.

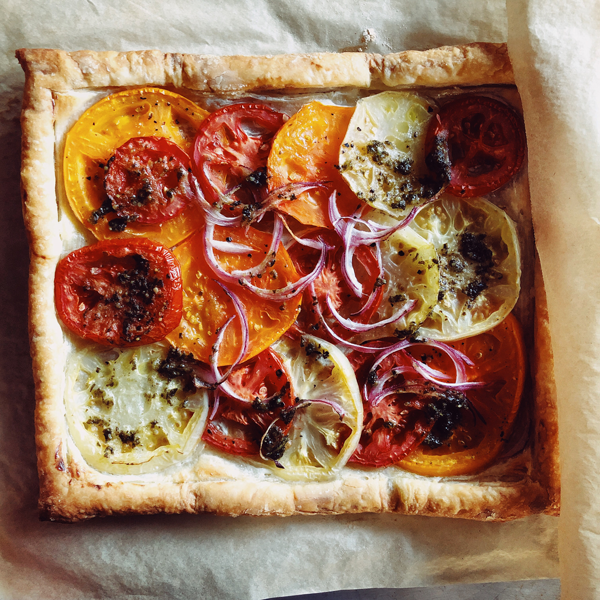
summer tomato tart with ricotta and pesto

I know summer is officially over, but I didn’t want to leave this gorgeous tart behind with my never-published blog posts of 2021 and not share it with you. Bookmark it and make it next summer if you don’t have any ripe tomatoes around. Or, if by some miracle you still have some, do give this a try.

The recipe is by Alexa Weibel. I stumbled upon it on the NYTimes Cooking website, the day I suddenly found myself with the most generous gift: a bag full of ultra sweet, organic, homegrown tomatoes left at our doorstep by my friend, mother-in-law, and expert tomato grower, Pat.

You can put together the dish pretty quickly (which always gets points from me), and it looks beautiful on the table (perfect for when you have friends over). Serve it as a light lunch with a green salad, or make it your side dish at dinner time.

When you are ready to eat the tart, make sure every bite you take has a little bit of each ingredient. The flaky dough, tomatoes, caramelized onions, creamy ricotta, and freshly-made pesto are fantastic together. The tart is mild and sweet, unlike other tomato tarts I had tasted before. I liked that.

Easy Summer Tomato Tart

Slightly adapted from NYTimes Cooking.

  • 6-8 multicolored heirloom tomatoes, sliced crosswise 1/4-inch thick.
  • Kosher salt and black pepper (to taste)
  • 1 sheet packaged puff pastry, thawed
  • 1 cup homemade or store-bought pesto (to brush on top of the pastry and for garnish)
  • 5 Tablespoons toasted pine nuts (To toast the pine nuts, place them in a pan on medium heat until they turn a light golden color. Watch them carefully as they burn easily!)
  • ¼ small red onion, very thinly sliced
  • ¾ cup fresh ricotta
  • Extra-virgin olive oil, for drizzling
Making pesto takes only a few minutes and it tastes much better than store bought!
  1. Make the pesto: Place a bunch of basil leaves in your food processor (about 1 cup), garlic (1 clove), toasted pine nuts(2 tablespoons) and process until finely chopped. Slowly incorporate olive oil (1/4 cup) and process until smooth. Finally, add freshly grated Parmesan cheese (1/4 cup). Process until just combined. Add salt and pepper to taste. Set aside.
  2. Slice the tomatoes and place them on a large baking sheet or plate in a single layer. Season them with salt and pepper on both sides. Cover with paper towels to absorb extra moisture and let sit for about 15 minutes.
  3. In the meantime, preheat the oven to 400ºF. Roll out the puff pastry into a 9×11 inch rectangle. Prick the inside with a fork. Score the edges 1/2 inch from the border. It will look like a small frame.
  4. Brush the pastry with a little pesto and layer the tomato slices and onion on top so they overlap a bit.
  5. Bake the tart for about 30-35 minutes in a preheated oven set to 400ºF., or until the edges look nice and golden and have puffed up.
  6. To serve, cut the tart into 4 equal slices. Place each slice on a plate and top with a tablespoon of ricotta, a little drizzle of pesto and a few of the pine nuts.

Cooks Notes: What makes the tart stand out is using tomatoes in a variety of colors, but if all you can find is red tomatoes, it will still taste delicious! You can serve this warm or at room temperature, but it tastes best right out of the oven. If you like a bit more flavor, you could try this with feta cheese instead of ricotta. Play with parsley, fresh basil, red pepper flakes, or some Parmesan cheese on top. Using cherry tomatoes in different colors will also look nice, just cut them in half and sprinkle them on top of the puff pastry with the onion.

Original Recipe @nytcooking
”Roasted Tomato Tart With Ricotta and Pesto”

hoodie update – watching out for modification details!

Yes, I know! Can you believe I’m still working on this project?

I started a hoodie for Sarah back in January, I think. It’s mostly stockinette with a rib detail on the sleeves. I was so close to finishing about two weeks ago. The fronts, the back, and the sleeves were finally ready. But when I placed the sleeves side-by-side, I noticed that they did not match.

Left: The first sleeve I knit. Right: The second sleeve error.

But how could this be?

I didn’t have any extra stitches. The detail was exactly 9 stitches wide. So what had I done wrong? It took me a bit to figure out the source of the error, but it had to do with the way the cuff had been made. The cuff consists of a 1×1 rib over 47 stitches.

I normally use the knitted cast on for my projects. It’s one of the simplest methods of casting on stitches, and I like that I can start working on a pattern’s Right Side right away. (On most patterns, Row 1 after your cast on is also considered the Right Side of your work — but not always!) Another thing I like about using this cast on method is that after I complete casting on the stitches I need, I end up with a little yarn tail on the left edge of the work, which I use to quickly tell if I’m on the right side (RS) or the wrong side (WS) of my project.

If I had used this method, as the pattern stated, I would have started the 1×1 rib (knit-purl) on the first row (RS) and I wouldn’t have had to redo the whole sleeve.

For this sweater, however, I decided to use a tubular cast on. I thought it would look cool and a little more pro. With tubular cast ons the tail of the yarn on row 1 ends up on the right side of the stitches you cast on. I think this threw me off and when I started the knit portion I didn’t look to see if I was looking at the RS of the rib, which should have started with a knit stitch.

I was bummed to have to start over. On the positive side, I was able to save the cuff, and this time I hid the tail and added a marker to know which side was the RS. This little mistake turned into a lot of work. I’m making progress on the sleeve and hope to have it ready by the end of next week. I’ll check back in soon.

Here’s what happened:

Version A is what should have happened. After starting with a knit stitch on the first row, the 20th stitch(first stitch of the nine-stitch detail) has to be a purl stitch to match the base row. This results in four ridges and five valleys on the detail.

Version B shows my mistake. Starting the ribbing with a purl stitch results in having to knit the 20th stitch, which results in three ridges and four valleys on the nine-stitch detail. The first and last stitches of the repeat blend into the existing fabric and the detail looks off-center.

Note: I think that if I had been careful to start the tubular cast on with a purl stitch, this could have also been avoided.