Latest Posts

Learning to Make Fresco de Tamarindo

Today I made fresco de tamarindo for the first time ever. As someone who grew up drinking fruit juices (frescos, as we call them in Costa Rica), this is a bit embarrassing.

In Costa Rica, you can find frescos in almost every color of the rainbow: limón, cas, guanábana (white); carambola, maracuyá, piña (yellow); melón, papaya, naranja (orange); fresa, sandía, frutas mixtas (pink); mora (red), and tamarindo (brown). *

Almost any fruit can be transformed into a refreshing drink by adding a little water, sugar, and ice. Growing up, I liked frescos that were a little tart, and tamarindo was one of my favorites.

Tamarindo is super refreshing and a perfect drink to enjoy in the summertime. It’s finally warm again in Marin, so I decided it was about time I learned how to make this.

I was able to find tamarindo pods at the local supermarket in downtown Fairfax.

In Costa Rica, tamarindo is sold in little compact blocks, just the fruit without the shells, and I believe you can find it packaged in the same way in most Latin American and Asian markets. I was only able to find the pods, but it was fun to break them apart to remove the fruit! If you have little kids, they might enjoy this step. Here’s the recipe:

Ingredients

1 – 12 oz. bag of tamarindo pods
1 cup of sugar
8 cups of water
ice
You’ll also need a blender, a large pitcher, a handheld masher, and a strainer.

Method

  1. Start by removing the tamarind fruit from the pods. You can do this easily with your hands, breaking and removing the pod and the strings that surround the fruit. Tamarind is sticky. Try to ensure all of the bits of the pod are removed, which like to stick to the fruit – and to your hands! Place the fruit aside. Go ahead and discard the shells and strings.
  2. In a medium pot, bring 4 cups of water and 1 cup of sugar to a boil. As soon as the liquid boils, turn off the heat and add the tamarind fruit, being careful not to splash yourself with the hot water. Cover the pot and let it sit on the stovetop or the counter for at least one hour.
  3. Once the liquid has cooled down, use a handheld masher or large spoon to separate the seeds from the pulp. Some people do this with their hands, but I prefer the masher. It’s much easier.
  4. When it looks like most of the seeds have been separated from the pulp, pour the liquid into a blender through a strainer to catch the seeds. Discard the seeds.
  5. Blend the liquid at high speed for a few minutes to ensure all the pulp dissolves.
  6. Move the liquid from the blender to a pitcher. You can run the liquid through a fine strainer once again when you do this. Add the rest of the water to the pitcher and adjust the sugar, if needed. (Some people like strong tamarindo, while others prefer a lighter drink. You can adjust it to your liking by adding more or less water.) You can also add the juice of the 1-2 limes (optional) to add extra flavor.
  7. Place the tamarind mixture in the refrigerator to cool.
  8. Once cold, serve in tall glasses filled with ice and enjoy this refreshing beverage.

Note: Tamarind solids tend to settle at the bottom of the pitcher. Always mix it before serving.

* Learn some words
Fresa : Strawberry
Fresco : Juice
Carambola : Star Fruit
Cas : Cas

Frutas Mixtas: Mixed Fruits
Limón : Lime
Guanábana : Soursop
Maracuyá : Passion Fruit
Melón : Cantaloupe Melon
Mora : A type of berry resembling loganberries
Piña : Pineapple
Sandía : Water Melon
Tamarindo : Tamarind

french toast

French Toast « New Orleans Style »

I went on a hike up the hill this morning. Two kilometers, 3,000+ steps, 28 floors. Not bad. All I could think of on my way down the hill was the almost complete loaf of challah bread laying on our kitchen counter. It has been there for a few days, and by now, nobody wants to eat it. So… what to do with challah bread? Of course, you know the answer to that!

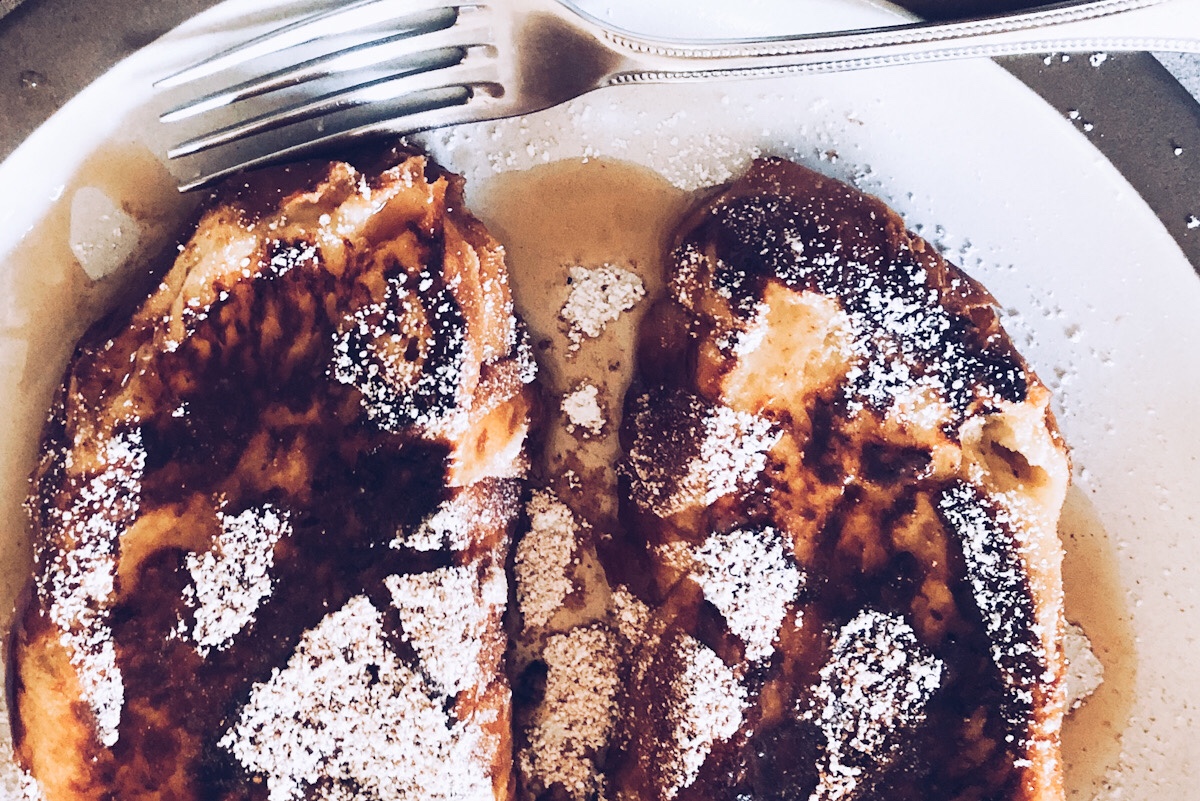
At our house, only Patrick and I like French toast. The kids have never really wanted to try it. (I know! I don’t get it either.🤷🏼‍♀️ ) So, I’ve learned to make just enough for two. It’s super easy to make. But ever since I visited New Orleans when I was a teenager, I’ve liked to serve mine « New Orleans style. » I don’t know if there’s such a thing. I just remember that when I ordered French toast for breakfast at the inn my mom and I were staying at, what they brought to our table was the definition of decadence.

I studied the dish very carefully. (Thick slices of soft, custardy, white bread, fried in butter – lots of butter. To serve: powdered sugar (lots of that), a sprinkle of cinnamon, an a decorative pat of butter on top. Did I taste cinnamon in the syrup, too? All noted.)

I remember that when I got back from our trip I started making French toast this way for breakfast. Everyone loved my French toast. It must have been all that sugar!

After I moved to California, I discovered Semifreddi’s challah and never again used regular sandwich bread for my French toast. I suppose we can call this an improved version.

French Toast New Orleans-Style

Serves 2 generously. Double the recipe if making for 4 adults.

Ingredients

-1 cup of milk
-1 egg
-1/4 teaspoon pure vanilla extract
-1 pinch of salt
-1 tsp sugar
-1/4 teaspoon cinnamon
-1 loaf of Challah bread or soft white bread (I use Semifreddi’s), cut into 1-inch-thick slices (You’ll use about 6 for one recipe.)
-4 tablespoons (or more) of butter for frying
-confectioner’s sugar and cinnamon to sprinkle on top
-maple syrup*
-fresh strawberries or blueberries on the side
(This will help you look like you were trying to have a balanced and healthy breakfast. 😂)

Method

  1. In a deep dish, mix the milk, egg, vanilla extract, salt, sugar, and cinnamon together, until the egg is completely incorporated into the milk, set aside.
  2. Heat a non-stick pan and add 2 tablespoons of butter. You’ll want the butter to melt and start to brown a little before you place the toast in the pan. This will ensure a nice color and crispy edges.
  3. While the pan heats up and the butter melts, quickly place two or three slices of bread in the milk mixture and let them soak up the liquid for a few seconds on one side. Flip them and let the other side get wet. Immediately, add them to the pan. (You don’t want them to stay in the liquid, or the bread will be too soggy and will break.)
  4. Cook the slices until they are a nice golden brown. Flip once and cook the other side. Remove from the pan once the second side also reaches a nice golden color. Transfer to a serving platter.
  5. To serve, place a few slices of toast on each plate and dust with powdered sugar and some extra cinnamon. Add some fruit to each plate and serve with your favorite maple syrup*.

Enjoy!

*My favorite maple syrup to date is a cinnamon-infused kind I got at Williams Sonoma during the holidays a while back. I’m sure you can make your own, or something similar by adding a nice stick of cinnamon to good quality maple syrup and simmering for a bit for the flavors to combine. I’ll have to look into this and share how to make it.

dusting off the sewing machine to make masks

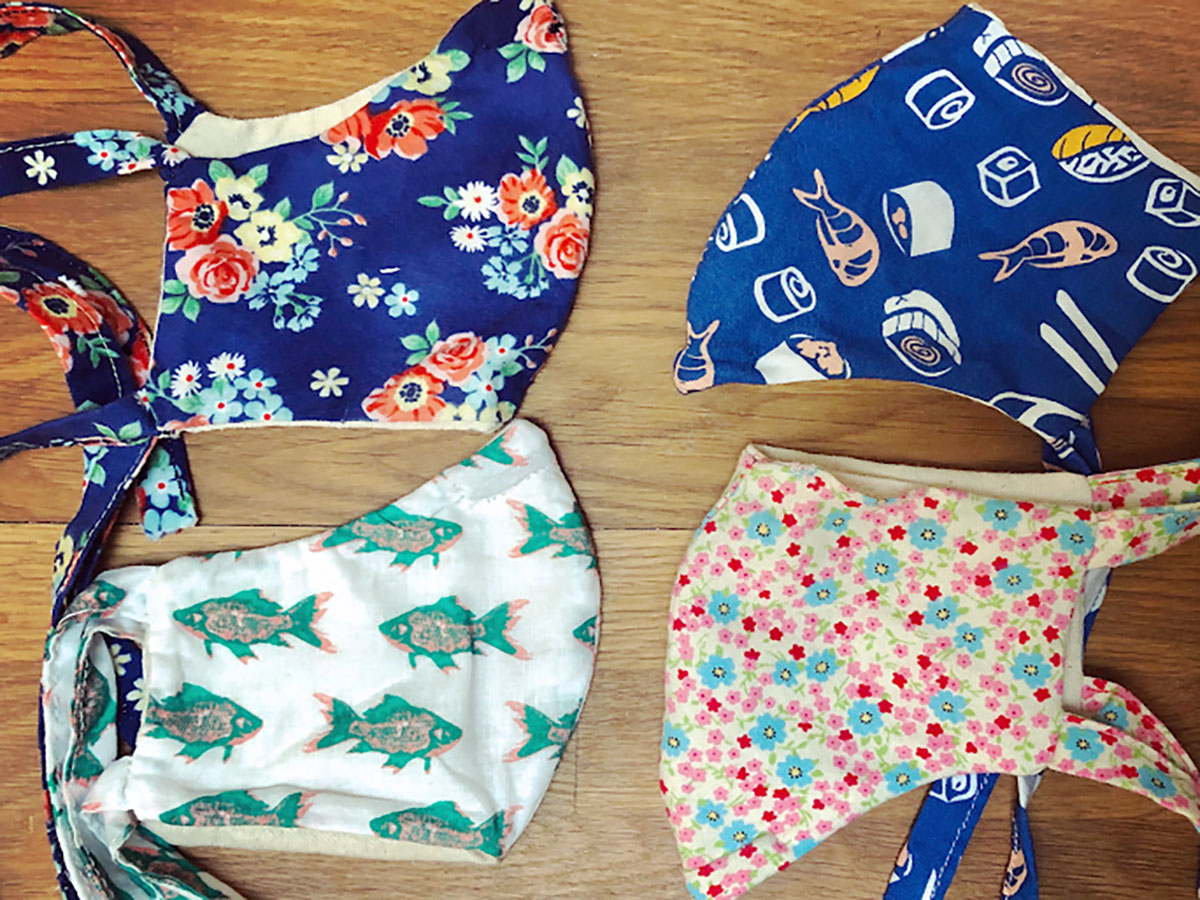
With the new order to wear face covers due to the coronavirus, I was motivated to try making my own. I found a pretty photo that led me to a very easy DIY pattern and I gave it a go — by hand, that is. I don’t know what it is about the sewing machine. Just the thought of threading it exhausts me. So, I figured sewing with thread and needle would be easier – and it was. It took me about two days to finish my first mask, with a little work here and there and it turned out all right.

But then, I wanted to make a few more for everyone in the house, and I knew that if I kept sewing them by hand I would soon be sick of the project and my hands would be very achy.

I couldn’t remember how long it had been since I had plugged in my sewing machine. I’ve had this machine since before Sarah was born, so I guess it’s at least 16 years old. I haven’t used it much and it still looks brand new. I like it.

But things didn’t go so well. The stitches on the top of my work looked great, but the bottom was a total mess! If it weren’t for all the trouble I had with the machine, I would have made 20 masks by now. I might even be in business. But no, the machine decides to be temperamental. So, I have finished four – no, I take that back – five masks. One I want to send as a gift. I wish it were easier. It looks so easy.

My Facebook friends that know how to sew suggested my problem could have to do with my machine’s tension. I had no clue what they meant, but I watched a bunch of videos on YouTube and after about four videos, I started fussing with the thingy that hides under the needle. It worked better, but it isn’t perfect yet.

So, I tried. The good thing is, I pulled out the machine; I used up a bunch of fabric I’ve had stored in an old chest in my house for almost 16 years, and we now have something to wear to protect us from the virus when we go to the grocery store.

Here’s a photo of the masks I’ve made so far.

Tomorrow is Mother’s Day. I just want to go on a hike in the morning and enjoy a good breakfast. Normally we’d go out to breakfast, but in corona times, we eat in. Happy Mother’s Day to all!

ingredients to make iced tea

iced tea on the deck and shortie’s birthday

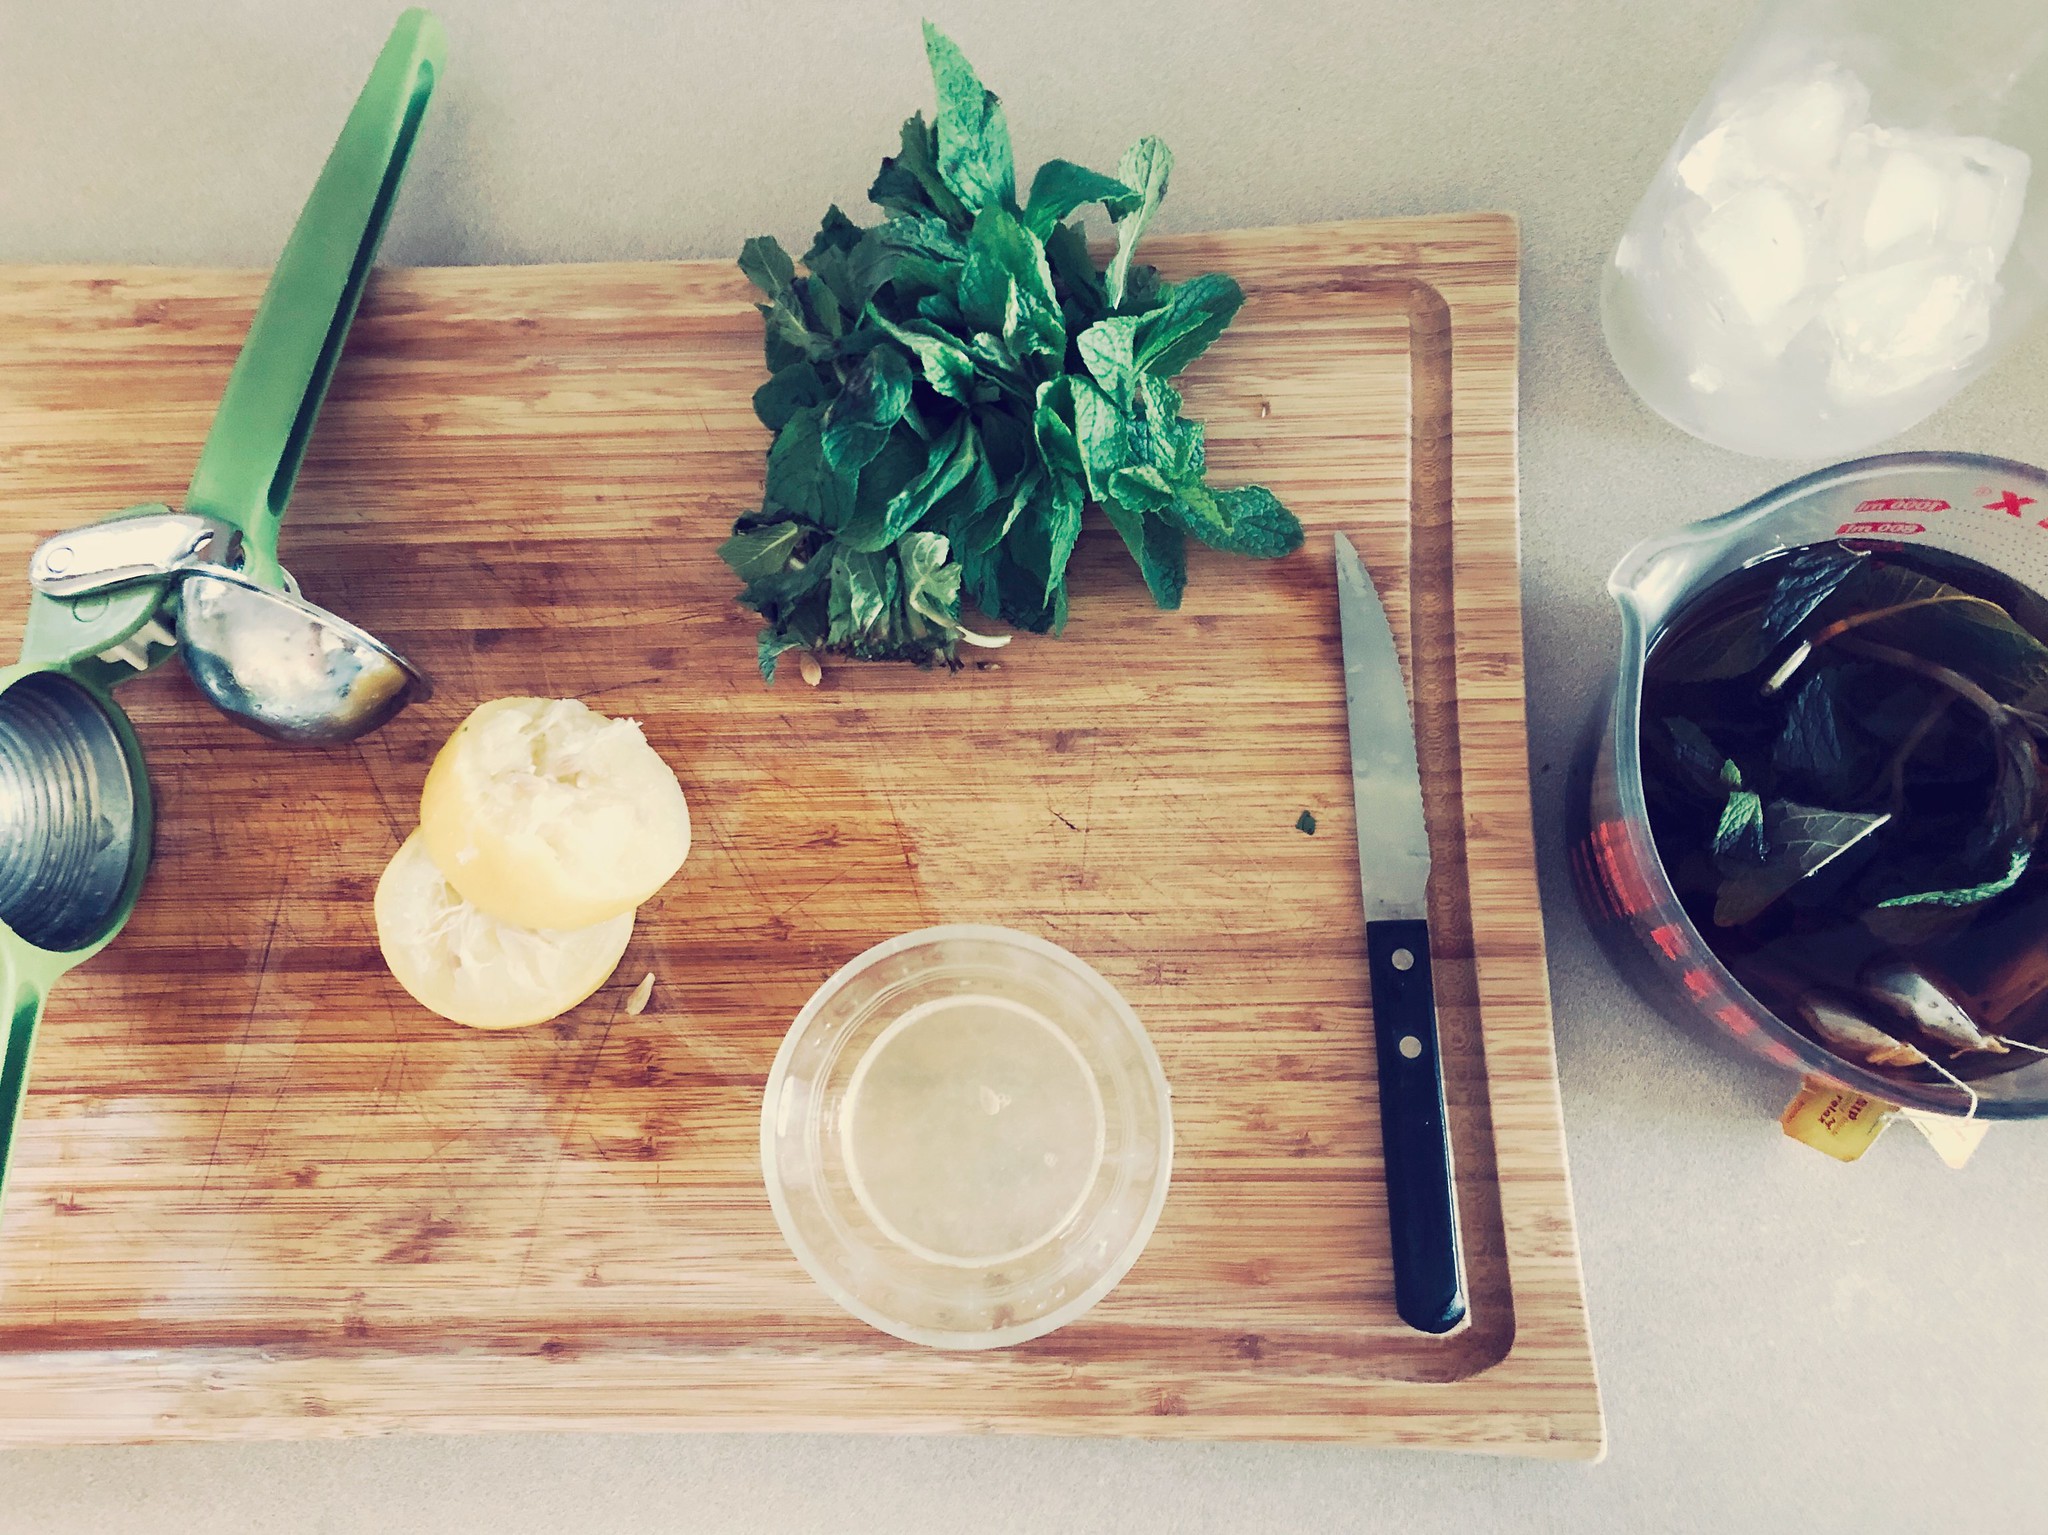
It’s been much warmer in Fairfax, the last two days. It’s nice to be able to sit on the deck in the afternoon and work outside. I decided to make some of my favorite iced tea to have something refreshing by my side, and I’m indulging in a few cookies.

Yesterday was Sarah’s birthday. She turned 16, which is hard to believe. To me, she’s still my little baby girl, even if now she’s driving me back and forth from the store all the time.

Her friends stopped by to wish her a happy birthday with handmade posters and small gifts. It got me all teary-eyed.

This COVID-19-life is so strange… I am so glad they came. It was supposed to be a big birthday! A little after her friends drove away, we had a second group of cars parked in front of the house for a while. This time grandparents, cousins, aunts, and uncles. I was so touched by all of this. I think Sarah had a good birthday, even if it wasn’t what she had hoped for originally.

Patrick and I made pizza and chocolate cake with pretty good results despite all the distractions.

So, today I’m exhausted. (Too much activity!) Since the shelter-in-place order went into effect, it really seems like we don’t see anyone anymore, so I think all the cooking, the visiting, and eating was a bit much for me. Well, actually… I’ve also been trying to keep up with a workout challenge for the last week or so, and today I’m really feeling it. Maybe that’s why I’m so tired! So, I will go back to my iced tea and my cookies and wait for my computer to restart. I’m installing a new OS. Ten more minutes, it says. Here’s the recipe:

Mint Iced Tea

  • 3 cups boiling water
  • 4 black tea bags (Lipton brand)
  • 6 sprigs fresh mint
  • 2 large lemons
  • 1/2 cup sugar
  • 2 cups of cold water
  • Ice cubes

Place hot water, tea bags, and mint sprigs in a glass container. Let seep for 12 minutes. Remove the tea bags and mint sprigs from the container. Add the sugar to the tea and stir well to dissolve.

Pour the tea into a pitcher. Add the lemon juice, cold water and ice and place it in the refrigerator to chill. Serve in tall glasses with extra ice cubes. Enjoy!