Latest Posts

week 5: a new stash-busting project and a little help from Stephen West

Hello! Is it just me, or did this week go by faster than last? I’ve been busy trying to complete all my wips and made some progress on the book I’m reading, but I am still working away with no finished objects to show you.

On top of that, I stopped at Dharma with Shortie last weekend. I really had no business being in a yarn store considering all the projects I have to finish and the amount of yarn already in my house. Perhaps my daughter is right to say that I should limit the number of projects I start, but it’s so hard!

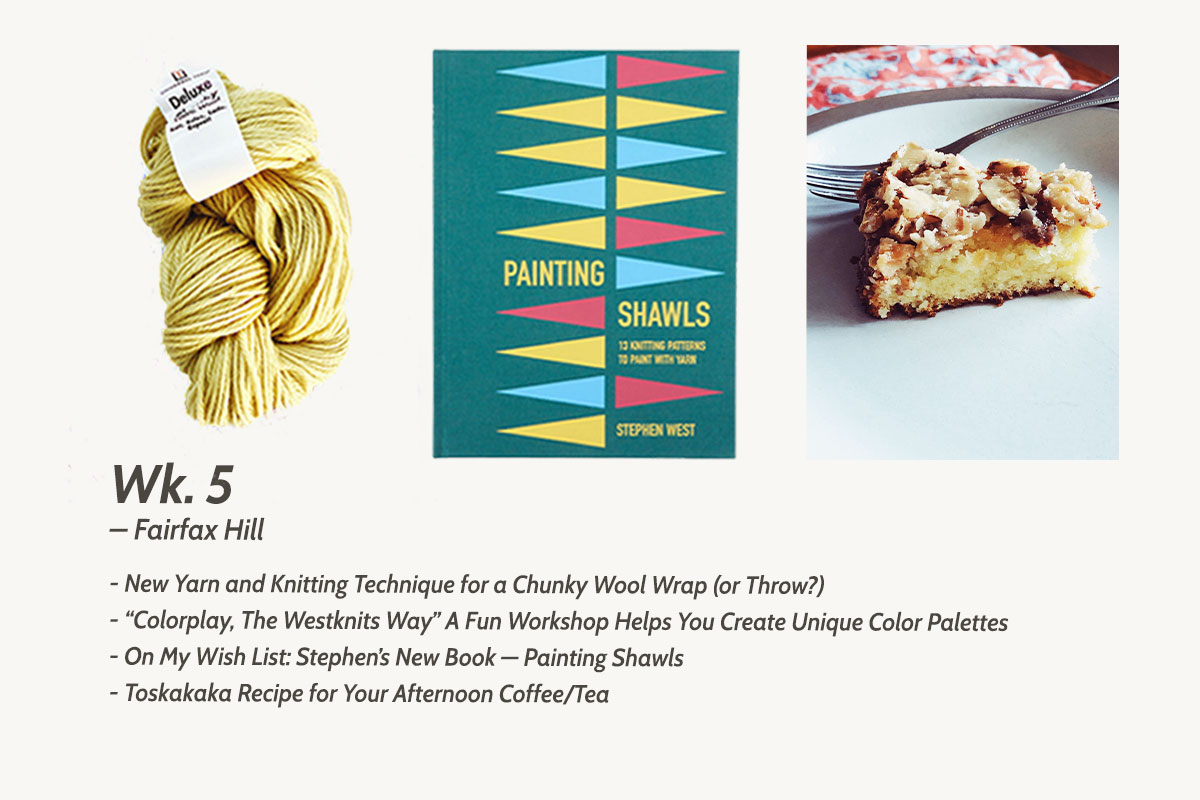
Of course, as much as I tried, I didn’t leave empty-handed. I found this yellow yarn (Universal Yarn in Pale Banana) that looked so soft, that I wanted to try it. I was good! I only got two skeins. The color isn’t pure yellow. It has a hint of green in it, so it’s more like chartreuse, which I’ve always been drawn to.

Universal Yarn wool in pale banana color. One of the many colors available.

I was thinking of making a scarf and perhaps using brioche stitch to make it ultra squishy, but later in the week, I watched a video where I learned how to make fabric by connecting diamond shapes that are knit using garter stitch.

The process is pretty simple, a mix of increases and decreases, a perfect project to use up bits of yarn you might have leftover in your stash. (By the way, if you understand Spanish, this teacher (Lucila) is great at explaining things.)

So, I knit a few diamonds with the new yarn and loved the result, but I really didn’t want to buy more yarn. I wanted to find a way to use up other yarn I already had. (That is one of the goals I set for myself this year — clearing my stash.)

I suddenly had this idea that I could perhaps come up with some cool color combination that might even look like something you’d find at Anthropologie: a little different and unique. Perhaps making a wrap or a small throw blanket for when I am reading in bed or on the couch.

Color combination intimidates me a bit. It’s funny that it doesn’t worry me when I pick out what to wear, but when it comes to combining yarn colors, I’ve been very conservative with my choices.

Then I saw that Stephen West was offering a color workshop online. As I mentioned in a previous post, I love his use of color, and I love his shawls. Just look at all these fun colorful examples! (Photo, Stephen West website)

Shawls and Photo by Stephen West Knits. @westknits on Instagram

Here was my opportunity to learn how he comes up with such wonderful color combinations. So of course, I signed up. (I am that person that all crafting platforms adore. I buy all the courses, try all the techniques. They have me hooked.) So, I’ve been watching and learning a lot tonight and hope that this week I can put together a few palettes I like with what I’m learning so I can get started on my wrap.

The workshop is called “Colorplay the Westknits Way: Stripes & Slip Stitches”. Stephen West is super entertaining and shows you his technique for picking colors in great detail. He teaches a “Say yes. Don’t stress.” approach which takes the fear out of mixing colors that “don’t go” together. The Painting Stripes shawl is also included with the workshop. And, once you buy the class, it’s yours forever, so you can revisit it as many times as you want. I think it’s fantastic.

Finally, if you are into shawls, there’s a new workshop launching next week, so check out his website and while you are there you can pre-order his new book, “Painting with Shawls” which is all about shawl design. This one’s definitely on my wish list.

Toscakaka

And now for a sweet treat… I made Toskakaka yesterday (one of my favorite Swedish cakes). I am still trying to use up all the almonds I have in the pantry, which I mentioned a while ago. I love that it takes only about 30 minutes to get this cake from the mixer to the table. And while it bakes, you have time to make the glaze and clean up your kitchen. Let me know if you try it.

Toskakaka (Dreaming that maybe one day my photos will look like Aran Goyoaga‘s)

for the cake

  • 100 g. stick unsalted butter
  • 2 eggs
  • 3/4 cup sugar
  • 1 cup flour
  • 1 teaspoon baking powder
  • 1/4 cup half-and-half

for the topping

  • 100 g. unsalted butter
  • 1/2 cup sugar
  • 2 tablespoons all purpose flour
  • 2 tablespoons milk
  • 100 g. slivered almonds (about 1 cup)

Prepare a 9″ spring-form pan by buttering and coating it with flour or bread crumbs. Melt the butter and let it cool. Using the mixer, beat the eggs and sugar until they turn light in color. Add the flour mixed with the baking powder, the melted butter, and half and half. Pour the mixture into the prepared pan and bake in the middle of the oven at 350ºF for 20-25 minutes.

While the cake is baking, prepare the glaze. Mix the glaze ingredients in a small pot over medium heat and stir until the mixture thickens and acquires a golden color. When the cake is ready, spread the glaze over the top of the cake. Put the cake back in the top part of the oven for 10 minutes or until it turns a nice golden color.

Remove the cake from the oven and slide a sharp knife carefully around the edge to ensure it doesn’t stick to the form. Transfer the cake to a serving platter.

Share and enjoy!
week 3: banana scones, the perfect wool for a dreamy shawl + a new book

* updated 4/2/24

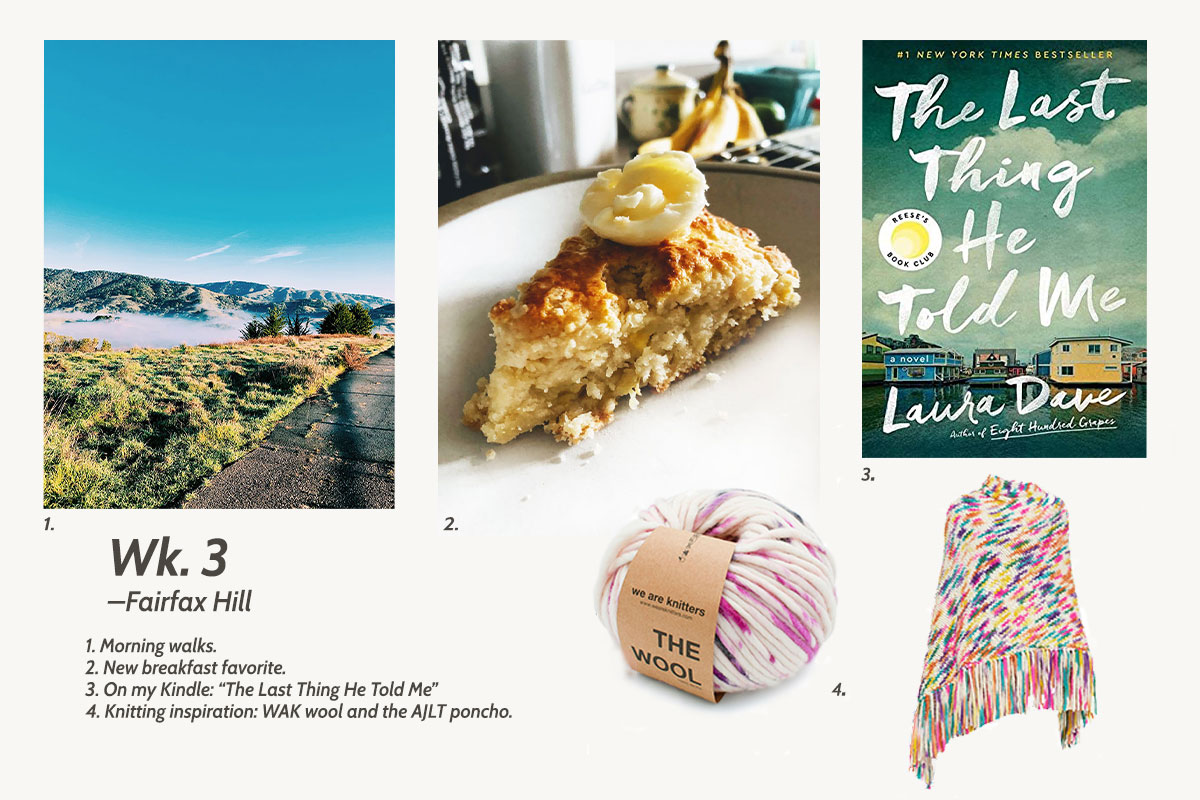
Morning walks have always been my favorite way to start the day. We had great weather last week, which motivated me to hike up the steepest hill in our neighborhood twice! It’s a tough hike, up, up, up, but the view from the top is totally worth it; on a clear day, you can see San Francisco. Here are some photos:

My walking average is up by a whole mile!

View from the top of the hill.

Our New Favorite Breakfast Recipe: Banana Scones

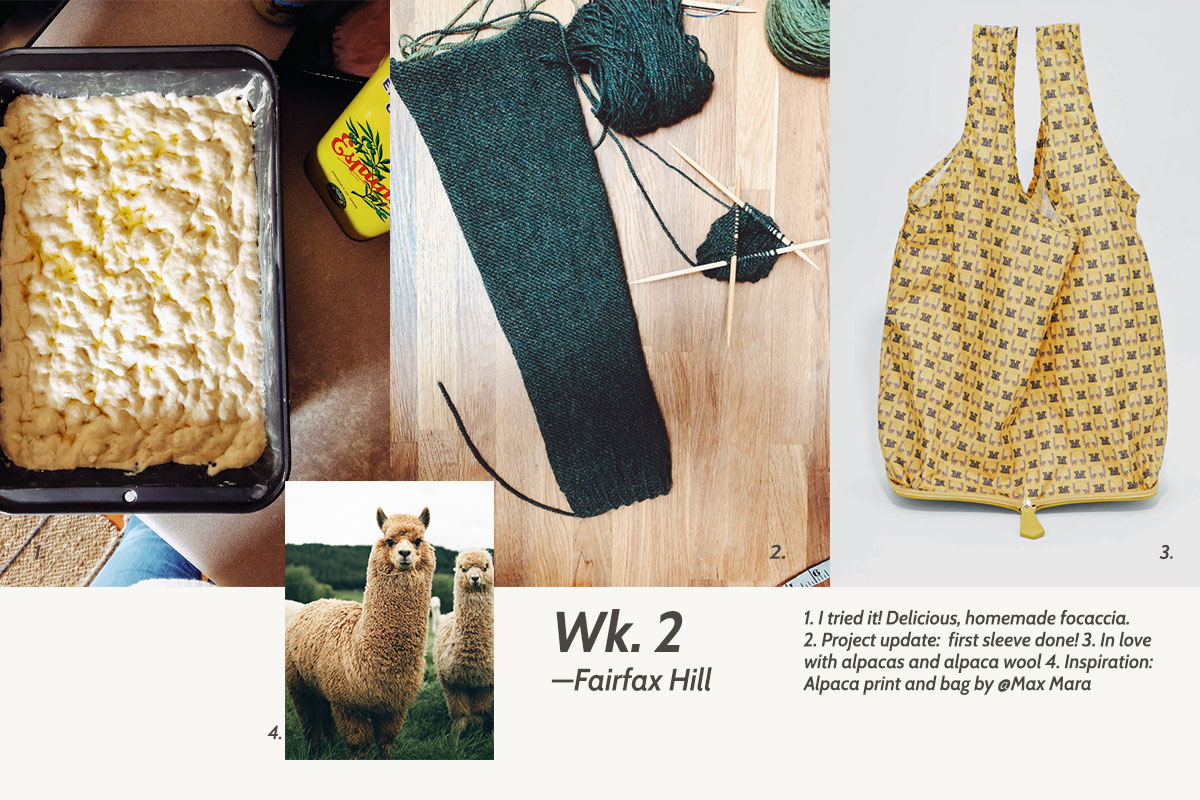
Banana Scones

On my Instagram account there’s a photo taken back in 2020 with the caption: “Banana bread never gets old around here.” Well, I’m sorry to report, that this is no longer true. It turns out that after months of testing banana bread recipes from our cookbooks and the Internet — my favorites being Carla Lali’s Bon Appétit recipe and my forever go-to, Fanny Farmer Cookbook‘s version with extra walnuts — the day officially arrived when neither of us could think of eating another slice. Just like a hit song that is played on the radio ten times a day and starts to give you a headache, banana bread finally got old. So, what to do with leftover bananas?

Scones to the rescue! I had read an article by Melissa Clark where she gave a recipe for banana scones a while back. I love scones with berries, but I wasn’t completely sold on the idea of banana scones. Would they be too dry? Last weekend, there were a few bananas on the counter, and I remembered the recipe. Since I was craving something sweet, I decided to give it a try.

The instructions were super easy to follow. Her recipe is a take on someone else’s recipe and I ended up making some modifications myself, because I didn’t have the exact ingredients and because I always try to find ways to minimize the number of dishes I use. (And this my friends is how people “have” recipes. We all try someone else’s and tweak as needed.)

The scones were a hit. Here’s a summary of the changes I made: I used only all-purpose flour, I used Noosa vanilla yogurt and milk for the dairy portion and halved the vanilla. I also skipped messing up the counter and shaped the dough directly on the baking sheet. (Less dishes to wash ;-). These were amazingly flaky and perfect for Sunday breakfast.

Banana Scones

(Adapted from Melissa Clark, who adapted them from Dawn Perry, who probably adapted them from her grandma. You get the idea.😉)

Heat the oven to 400º F

Ingredients

  • 255 grams of all-purpose flour (this is about 2 cups, but I like to weigh flour whenever possible)
  • 1 tablespoon baking powder
  • 3/4 teaspoon fine sea salt
  • 1/4 cup granulated sugar
  • 2 tablespoons dark brown sugar
  • 1 stick of unsalted butter, coarsely grated, very cold or frozen is best! (If you use salted butter, reduce the amount of sea salt to 1/4 tsp)
  • 1 banana (or about 1 cup of fruit)
  • 1 teaspoon vanilla
  • 3/4 cup combined vanilla yogurt+milk (I used one small cup (4 oz.) Noosa Vanilla yogurt and milk)
  • 1 egg + 1 tablespoon milk for egg wash

Equipment: a baking sheet, a whisk, a grater, and a pastry brush.

  1. Whisk together in a medium bowl the flour, baking powder, sea salt, and sugars.
  2. Grate the stick of butter directly into the same bowl.
  3. Toss lightly with your hands to mix until clumps start to form. Don’t over mix.
  4. Add the diced banana and blend to distribute evenly.
  5. In a separate bowl, mix the yogurt and milk with the vanilla and add to the flour mixture. (This will be a very sticky dough. Do not worry!)
  6. Toss the mixture onto a rimmed baking sheet lined with parchment paper. Press the dough together into a circle about 9 inches across and about 1 inch thick. Cut the circle into 8 wedges. (The key to flaky scones is to not handle the dough more than necessary, just enough so that things hold together. It doesn’t have to be a smooth dough!)
  7. Whisk an egg with a little milk and brush this mixture over the scones so they turn a golden color.
  8. Bake in the oven for 20-25 minutes or until the top looks golden.
  9. Enjoy with a little pat on butter and freshly brewed coffee or cranberry juice.
Any tips on removing scratches from ceramic plates?

The show “And Just Like That” is all everyone seems to be talking about these days and it’s all over social media. I am not the hugest fan, but one topic that got my attention was the now-famous “Lauren Wrap” that showed up on a few episodes.

The wrap, which some mistook for a throw, was designed by Gabriela Hearst who is the creative director at Chloe. If you really love this look, you can probably make yourself something pretty similar for about $300 (a deal, considering the price tag of the real one). This shawl is extra-long, so I imagine you would need at least 10-12 balls of yarn. The other day, I found an article in a blog (I am still looking for the link, sorry dear fellow blogger!) that gave some good recommendations for yarns that could work for making something similar.

These colorful super-bulky yarns are simply amazing.

Shown below is Manos del Uruguay Franca and We Are Knitters, The Wool in Flamingo, the colorway I would love if I were to attempt one of these. I also think that Berroco’s Coco could work, and this slightly different pattern would be cute, too. What do you think? Would you make one? Could this be as simple as knitting a huge triangle?

Manos del Uruguay: Franca
View larger image of Coco
Berroco Coco

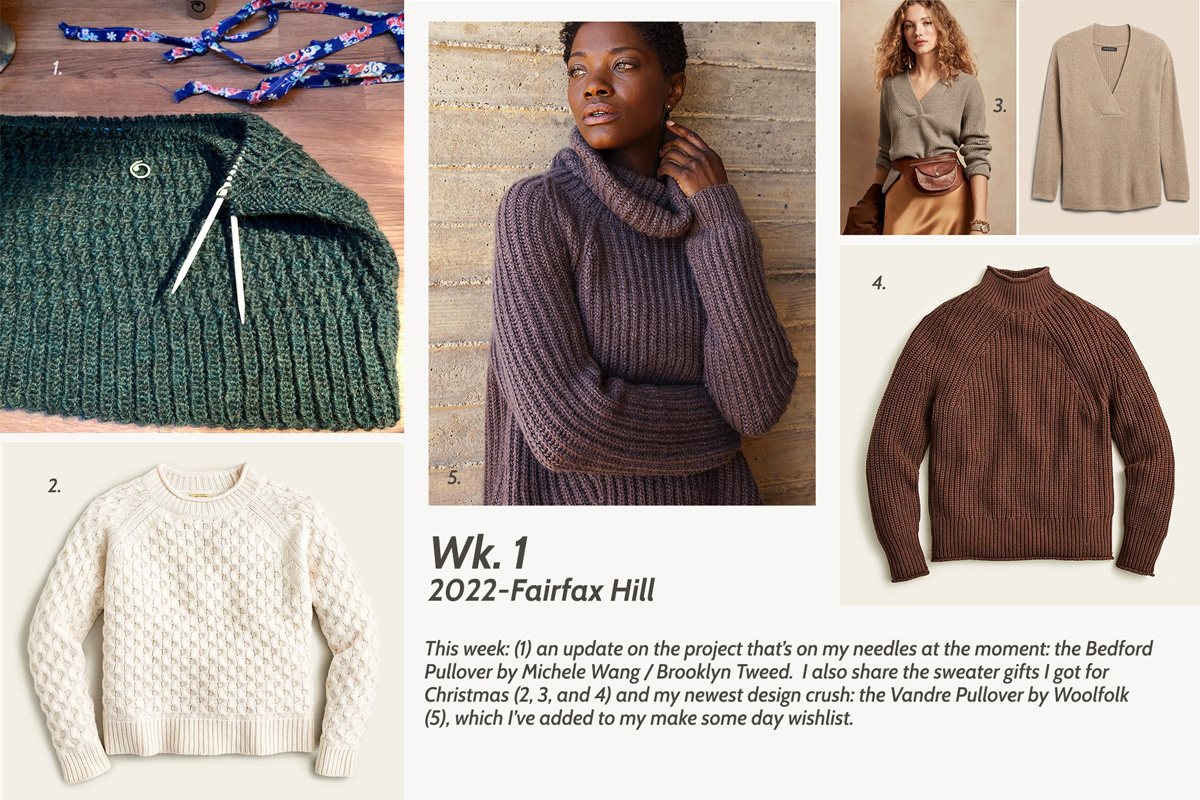
New Book on My Kindle: The Last Thing He Told Me

Yesterday I picked a new book to read. I’ve heard good things about it.

What are you reading these days?

I think I’ll try to pop in here a few more times per week. Hope you stop and visit.

a photo collage showing focaccia bread, a green knitted sleeve and a yellow nylon bag side by side, below these is a photo of an alpaca and the text wk 2

week 2: making focaccia and learning about alpacas

I love my library membership. I can get almost anything I want to read on my phone or iPad. This year, I’ve decided to set a few goals for myself. One of them is to practice and improve my Swedish. I found that I could download Swedish magazines, and found ELLE, and this photo:

Photo #ellesverige

Aren’t alpacas the cutest?! Last week, I mentioned that I wasn’t sure why my sweater felt so soft, even if I was using smaller needles than the pattern asked for. I am typically a very tight knitter, so I expected a wool blend to be a bit stiffer, but it was so light and soft! I decided to learn a little more about the wool I was using and found that one of the properties of alpaca is that it’s soft, drapey – and super warm!

Photo Credit: Josiah Farrow, Unsplash

ALPACA AT A GLANCE

  • Lighter and warmer than wool
  • Super soft to the touch with a silky sheen
  • No lanolin makes it hypoallergenic

I also learned that a 50/50 alpaca and wool blend is ideal for sweaters where you want to be able to see stitch definition, but where some drape is also desired, like the one I’m making.

Here's another link with a summary on alpaca wool.

The more I knit this sweater, the more I think I am going to love the result.

I then remembered a Max Mara skirt I had seen in the December 2021 issue of VOGUE. I had to look very closely, but I noticed it was an alpaca print — how cute! The photo had caught my attention because the woman in the photo reminded me of a doll my grandmother had given me many years ago. I searched for the skirt online to get a closer look at the fabric. The 100% silk skirt was a bit out of my budget at $843 dollars (ha-ha), but at “just” $75, this bag could certainly be mine. Of course, I am not going to buy it, but it’s cute.

Photo: alpaca print bag by Max Mara

I actually bought some waterproof fabric the other day and I’ve been wondering what to do with it. The Max Mara bag gave me an idea. I might make one of these reversible bags.

Bedford Pullover Update

This week, I managed to complete the first sleeve of the Bedford pullover, and today I started the second one. I’ve decided to try double-pointed needles for a bit. I knit about a third of the first sleeve using four double-pointed needles, but then started noticing the transitions were visible. I wasn’t getting the right tension as I moved from one needle to the next. So, I changed to a long circular needle and the magic loop method. It looked a bit better; at least I didn’t have 4 ridges anymore, but I still wasn’t too happy with the result.

The first sleeve of my Bedford pullover. You can see the ridge I mention above.

It’s not like I’m getting big ladders, but I can see the difference. So, for the second sleeve, I am trying 3 needles to see what happens, but now that I think about it, I should probably use the magic loop again to make both sleeves match. This circular knitting in small circumferences is a bit tricky!

Could it be the yarn or the fact that I’m purling? I haven’t had this problem with the socks I’m working on. You can see those on my Instagram account.

In other news, I made focaccia!

I saw a photo of focaccia on Bon Appétit’s Instagram account on Thursday, and I immediately bookmarked it and sent the post to my kids asking them if I should make it. They both said yes, so of course I had to try it.

This was the easiest bread recipe I’ve ever made. You basically get a large bowl, add some lukewarm water, honey, and instant yeast and wait for it to start bubbling. Then, you add flour and salt and mix it up. You put a cover on your bowl and stick it in the fridge overnight.

The next day you lightly fold the dough onto itself a few times to deflate it, butter a pan, and add some olive oil. Dump the dough into the prepared pan and let it rise for about 2-4 hours. Before you put it in the oven, you get to play with the dough and a little oil to make the little indentations. Finally, you place it in the oven for about 20-30 minutes at 450F and you get the most amazing bread. It’s really that simple! Trust me, you need this recipe! Get it here.

We made some sandwiches for lunch with the focaccia. I can definitely see myself making this again soon. Let me know if you try it. I think everyone would love it.

Until next week. Ciao!

a collage with different knitted sweaters

week 1: bedford sweater progress + new cozy sweaters for winter

Hi! I finished the first section of the Bedford sweater I started on Dec. 27. I am really enjoying this project. The resulting fabric is super soft. I am a bit baffled by the fact that I had to go down a needle size to get the pattern’s gauge and the fabric still looks pretty lose. I don’t know if it’s this yarn, or the stitch pattern, but my knitting feels and looks more relaxed than ever. Could it be that I am finally benefiting from my hobby and slowly turning into a more relaxed person? Ha, ha. Doubtfully! But still something interesting about this yarn, which I am liking a lot.

The yarn I’m using is Berroco Ultra Alpaca, Peat Mix (06277), which is 50% alpaca, 50% wool. The pattern calls for Brooklyn Tweed 100% American Targhee-Columbia wool and although I would typically try to use the yarn called for in the pattern, I had just the right amount of this green wool sitting in my closet and it was time to use it up! Both yarns are considered worsted weight yarns and so far, it seems like my substitution will work for this pattern. It’s always a bit scary to use something different than what the design was made in.

Today I started working on the sleeves, so hopefully by next Sunday I’ll have at least one to show you.

This week I had to exchange some sweaters I got for Christmas. I hate having to exchange things, but I hadn’t been shopping in a very long time and these were all gifts. When I was asked what size I wore, I said a size bigger than last year for sure! I’ve put on so much weight since the start of the pandemic; so I just took a guess. It was a bit of a relief to see that some of the sweaters were too big on me, and I was very happy that the others looked good even if they were a bit large.

I was definitely in need of some new sweaters and I love the ones I got. In a perfect world, I would knit all my sweaters, but at my pace, that is pretty impossible, at least for the time being. I did see a pattern that sort of matches one of the ones I got, so perhaps in the future, it will be on my needles.

WINTER 2022 SWEATERS

#1: Honeycomb Rollneck sweater by J.Crew: Super warm and soft and I love all the texture.

The Bedford sweater I’m making has a very similar construction to this sweater as well as an overall textured pattern. Perhaps I could learn how to add the little rolled neck at the end? It really is quite similar.

#2: Relaxed Rollneck pullover also by J.Crew.
This one looked awesome on Sarah so we got it to share.
#3 Italian Wool-Cashmere Blend Tunic Sweater by B.R. Mine doesn’t fit as closely as on the model. I could try a size down, but I also like the loser look with jeans and a t-shirt.

ON MY WISHLIST

Vandre Pullover
Knit in Woolfolk Far color no 19 // Vandre is designed by Lori @versaciknits

This one is a little like the brown rollneck sweater I got, but I actually think I would love to have this bigger turtleneck design, and this wool color is gorgeous.

Woolfolk Vandre